October 9, 2010

October 8, 2010

DIY Fabric Flowers

Recently, I came across this fad of flowers made out of fabric. A friend of mine looked up a tutorial and said it was super easy. I have seen them on a few blogs and they're to die for. Here is what some of them look like...

Check out The Anderson Crew to see how she made this awesome necklace:


http://andersonfamilycrew.blogspot.com/2010/10/diy-fabric-flower-necklace.html

My friend Krissy is getting married next June and she ordered this garter off of Etsy:


(something old, something new, something borrowed, something blue)

Check out this Etsy site to see more of her work: http://www.etsy.com/shop/rosebudlips


I decided I wanted to try this fad out! I have this horrendously boring LapTop case that I have been wanting to replace. Since I can't really justify spending $30 on another LapTop case, I decided to do some DIY craftzies.

Materials:
-fabric of your choice
-felt
-doily
-hot glue gun
-scissors


Step #1. Cut out pieces of fabric about 2 inches wide and 15 inches long. The bigger you want the flower, the longer you should make the fabric.

Step #2. Start to roll and twist!

Step #3. Use your hot glue gun to glue as you twist. Glue just enough to keep it in place. At the end you will use some felt to secure it in the back.
                                                                     First one done!

Step #4. Attach doily to LapTop case


Step #5. Cut out a circle of felt

 Step #6. Finish the rest of the flowers that you want and hot glue gun or sew the back of them to whatever your base is.


The main problem with this is that now my husband won't really like using this case. But hey! That just secures the Mac as mine even more so!

You can use any fabric and I'm sure it will look cute.

Enjoy!

October 7, 2010

DIY Toilet Paper Pumpkins

Who knew you could make toilet paper cute?

I found this idea on a blog but I can't remember which one. I googled it and it is everywhere so sorry for the lack of recognition to one blog. This is super easy and I think they are really cute.

I am making them for some friends who live right across the street from campus. They always have friends stopping by and using their goods. Thought I'd give them some cute fall decor and then make up for all of the tp I've used they have had to buy for other people the past few years!


Materials:
-fall fabrics
-felt (or whatever you will use for the stem)
-full toilet paper rolls
-scissors


These fabrics were on sale at JoAnns...40% off I think. Plus I had a 20% off coupon for my entire purchase...score!


Place the toilet paper in the middle of the fabric and cut around it leaving enough room to fold up and push into the toilet paper roll. Cut off the corners to use for leaves.


 Here is a picture of me pulling the fabric into the center of the roll.

-Do this to all of the toilet rolls.
-Then cut leaves out of the corners of excess fabric. I just did this by hand, it's easy. No one will notice if the leaves aren't symettrical.
-Cut pieces of felt or whatever you are using for the stem. I cut about a 3x6in. rectangle to roll up.
-I then used a piece of thred and thredded through the ends of the leaves and connected it to the felt stem in the middle. This was basically just to keep the leaves in the hole and attached to something.

Finished product:


 This one has a felt leaf because I was going to do felt leaves in the beginning but I liked the look of the different patterns in the leaves.

If I made this too confusing, just google it.

Hope you liked it and Happy Fall!!

October 4, 2010

Who's got mail?!

I do! I am so excited about some packages that have come in the mail tonight. I've been checking our mailbox like crazy for the past few days. Is anyone else very optimistic about delivery dates? It says expected delivery date Monday thru Friday and I am there Monday when the mailman comes!

(These stands are for my next diy post)


Anyways, Travis and I have used Shutterfly in the past and we have made a book for each year of marriage (2 so far)! They are fun to make and even more fun to look at. Because we have used their products, I have gotten emails about deals and sales. We actually got the 2nd year book for free because of one of the emails I got. Score! So, I saw that I could get 10 cards or stationery for free. So, I started to look on their website but I didn't see any cards I wanted to get. I then saw something that said Business Stationery. So, I created some "Albini Photography" stationery. It was just for fun but now that we have officially booked our first Engagement and Wedding Photographt job, they'll come in handy.


Look back to this blog post by AshleyAnn: 

http://ashleyannphotography.com/blog/2010/09/17/let-me-tell-you-a-little-story/

This is where my second package comes into play. I ordered some of the headbands from FosterKadeDesigns on Etsy. I talked my hubby into it because it really is for a great cause. This family is trying to raise enough money for the adoption of their little girl from another country.

(Please forgive this "Myspace" bathroom shot...I was just too excited to not put this cute headband on and take a picture!)


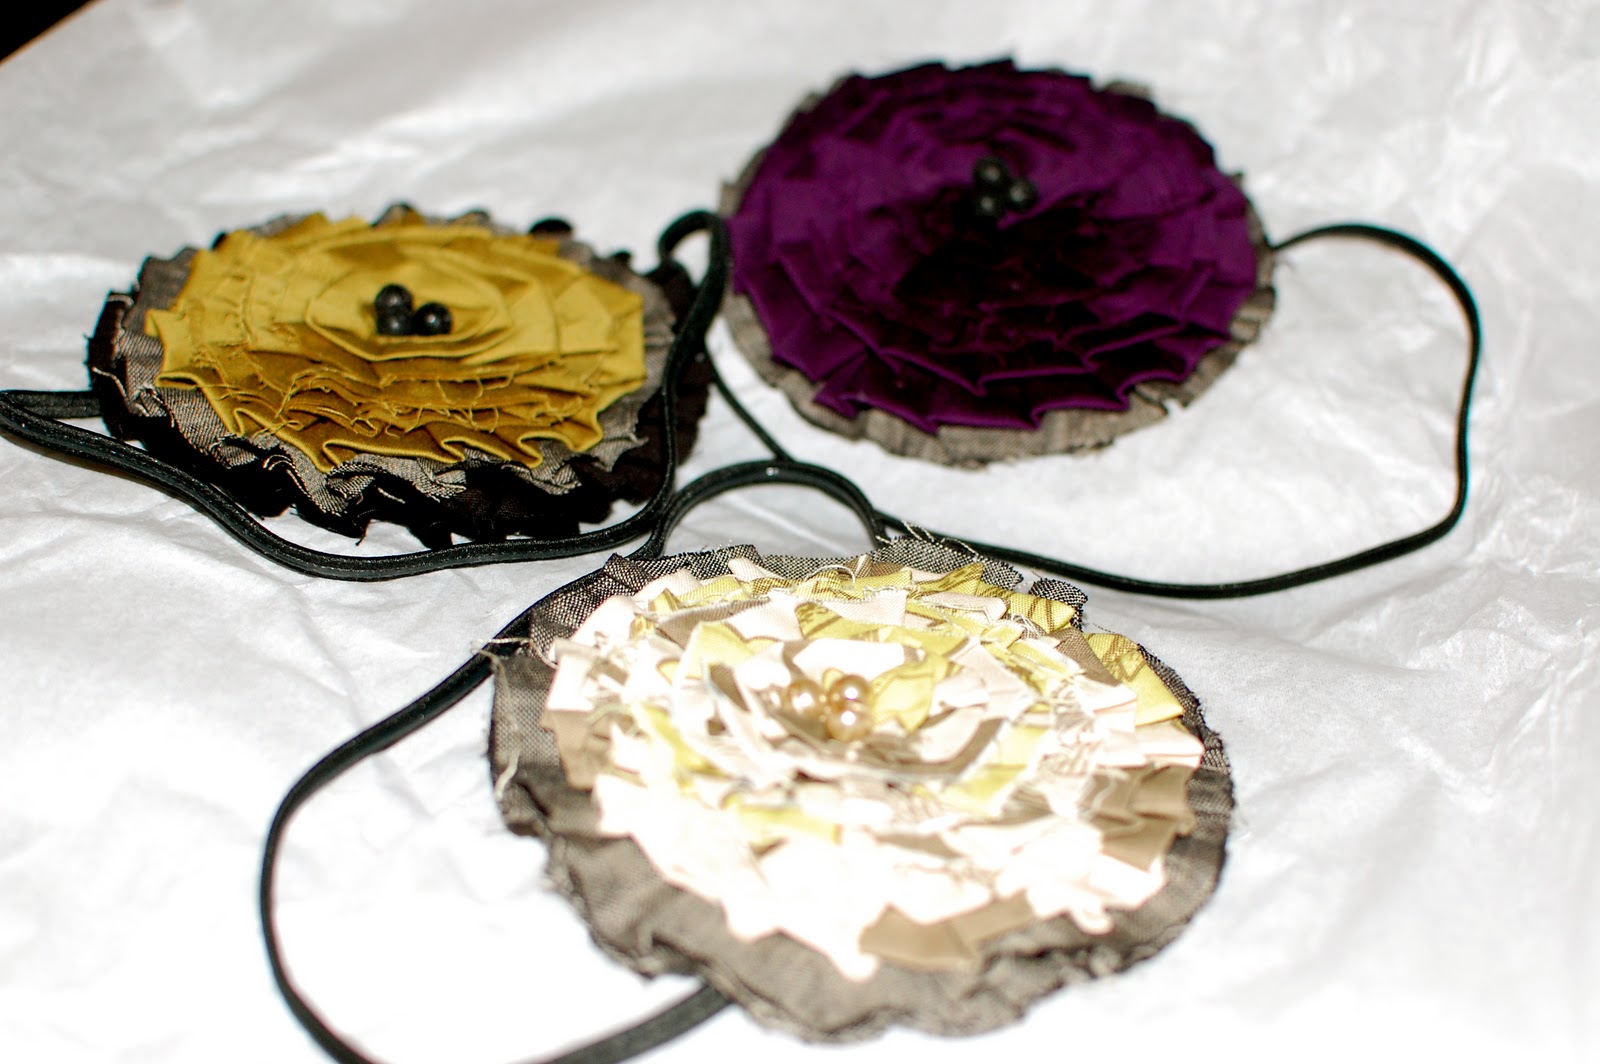
Here are some of the headbands up close...


Go here to order your headband (They are on Vacation right now):

http://www.etsy.com/shop/fosterkadedesigns

Thanks for following and you know I will post some more pictures of these cute headbands!